As an Amazon Affliate, I may earn a small commission for any purchases made through links in this post. Learn more here.
When I was searching for my first greenhouse kit, I had a limited budget for both time and money. I needed a greenhouse kit under a thousand dollars and that I could build over a weekend. The Palram Canopia Snap and Grow Greenhouse kit fit the bill, but the online reviews almost kept me from buying it. However, I gave it a shot, and nine months later, I am completely happy with my purchase!
In this review, I’ll discuss my thoughts on construction, how it’s held up over the past nine months, and what I have done to make this greenhouse kit work for me.
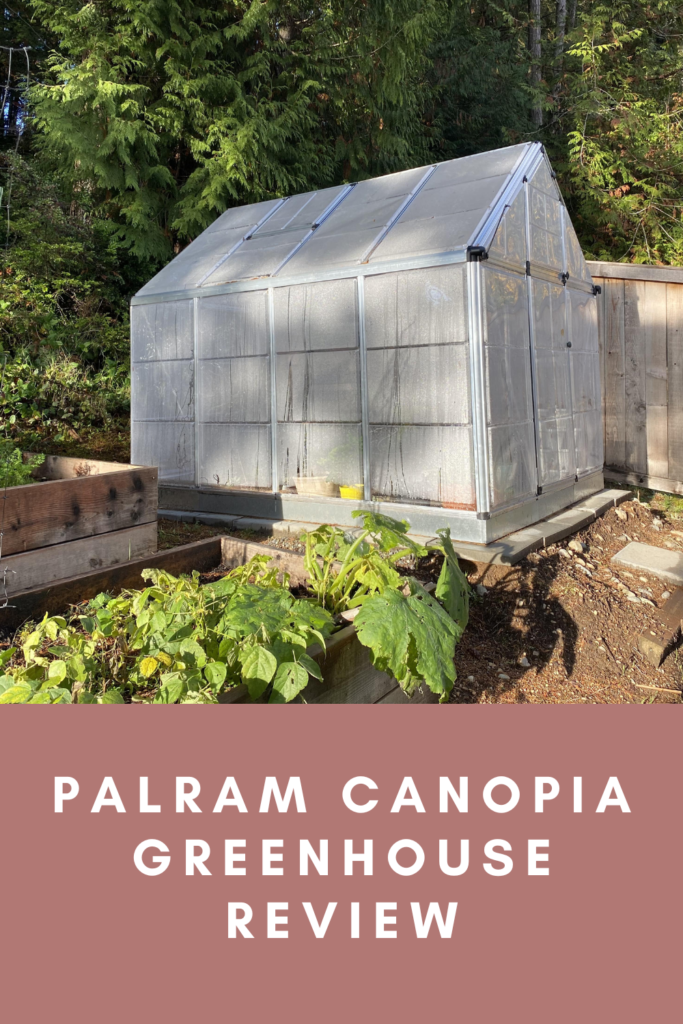
Constructing a Palram Canopia Snap and Grow Greenhouse
I made a Youtube video when I built the greenhouse kit and posted an updated review here once I have the video finished. Looking back, the video makes the construction look like a breeze. My husband and I were able to finish the build in a day. If I was by myself, it would have taken twice as long and I would have probably been much more frustrated. Here are some of the downsides:
- The overall dimensions are a little unclear or inaccurate. I built my foundation first, moved the frame up to the pad, and realized the dimensions were wrong. Perhaps this was user error, but I remember being confused about what I needed and ended up having to go back and make changes to my level pad.
- The joints are made from plastic pieces. The metal framing members slide over the ends of the joints; however, some of the pieces were difficult to fit. I needed a mallet and some lubricant to get some of the pieces to work together.
- The instructions are a little unclear in some areas. Some clips go into the bottom frame that hold the frame pieces that hold the sheets of poly. I wasn’t sure how far apart to space them until I realized the sheets had to slide down the formed channel. If this is confusing – check around the 5:20 minute mark in the Youtube video linked above.
- A piece of duct tape is supposed to seal the middle of the ridgeline. The first one tore, then the second one tore, so I gave up. Rain drips a little from this seam now, but I do not mind.
Here are a few tips, though, for helping you build your greenhouse kit:
- Find a friend to help you
- Construct the foundation on a level surface
- Wear gloves
- Don’t be afraid to muscle on some of the pieces
How has the Palram Greenhouse Held Up?
I have been insanely happy with the construction, especially given how poor the reviews were. I have even had some negative comments on the Youtube video about the quality. For the price, though, I have been super impressed with the quality.
I always meant to go back and add concrete anchors to secure the greenhouse to the foundation. I haven’t yet and I’m not sure I need to. The greenhouse has been amazingly sturdy through gale-force winds, hail, and heavy snow. There are plenty of trees around our yard and we have had tons of down limbs, but nothing has damaged the structure.
The polycarbonate sheets for the “glass” have also been super sturdy. So far, nothing has punctured or cracked any of the sheets. I need to give the structure a good pressure wash, as dust and moss have started building up in the cracks.
The hardware, unfortunately, I feel is a little lacking. There is a latch to hold the door open, but I have yet to figure out where best to hook it to keep the door open. The door has two sections and they do not hold together well when the door is held open. Also, the knobs tend to come off easily, but they pop back on easily too.
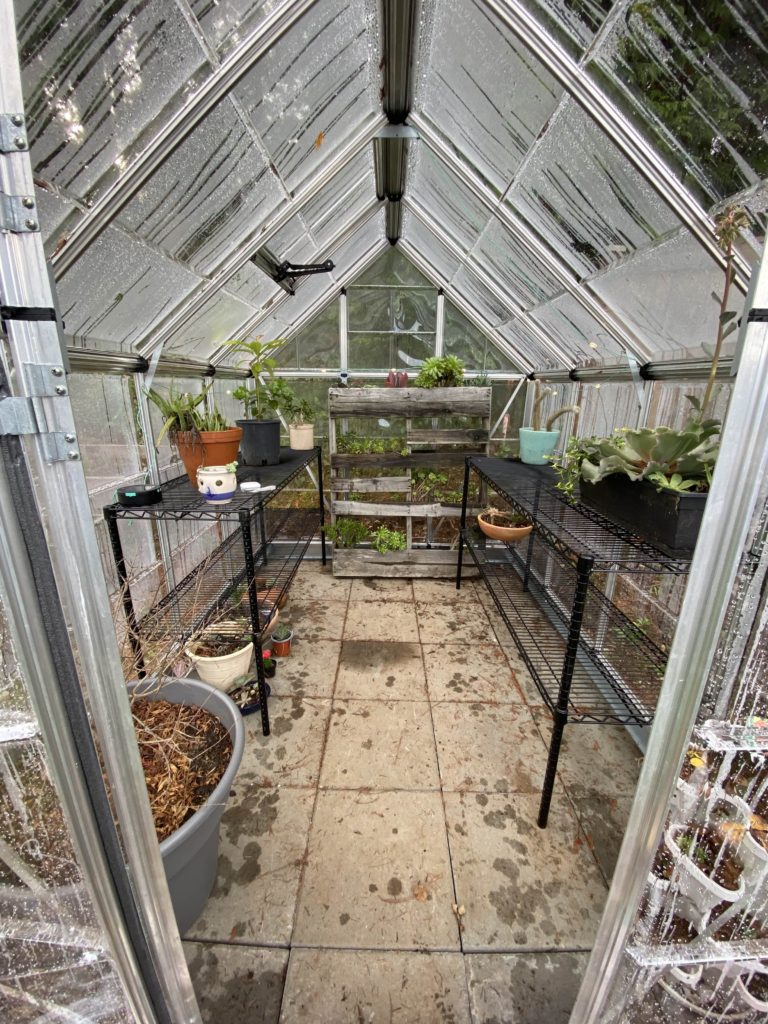
My Accessories for the Palram Greenhouse Kit
Palram offers a few accessories to go with the kit, such as a temperature-sensitive actuator for the roof vent, shelves, and hangers, but I did not purchase any of these items.
I ended up buying two of these metal shelving units, which were perfect inside my greenhouse.
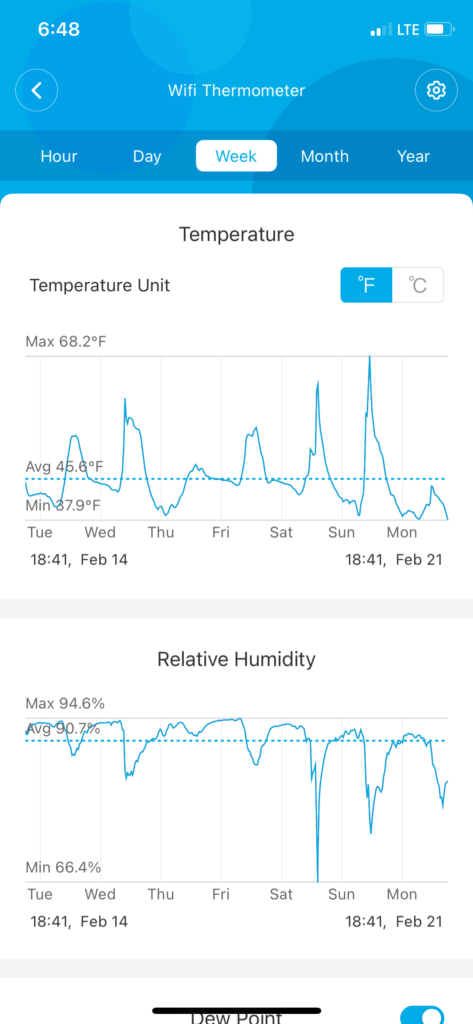
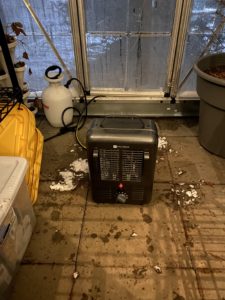
I also got a wireless temperature sensor to help me know if I need to turn on my heater or open the roof vent.
I also use a regulator like this one to help with temperature regulation in the winter. It acts like a thermostat to allow my heater to cycle.
Finally, I use five-gallon buckets under the drip spouts to catch rainwater, which allows me to water my plants with rainwater instead of tapwater. You can pick these up from a hardware store, or even for free off a curb alert, Craigslist, or Facebook marketplace.
Would I Buy the Palram Canopia Snap and Grow Greenhouse Again?
YES.
Even though I may love to someday have something like a Hartley, or a custom-built greenhouse with real glass and real heating and cooling… this greenhouse kit was perfect for my budget right now and has exceeded my expectations.
I believe this greenhouse will last for many, many years. I have learned a lot of things through my first year of growing in a greenhouse, and expect to make it work much better for me in the future.
In the future, I hope to post more about tips for growing in a greenhouse, especially for extending your growing season here in the Pacific Northwest.

Hello… I enjoyed this review and also your bill video on YouTube. You made several of the steps much easier. I am hoping you have the time sad patience to help me with two issues. One is the doors are not fitting well, and I’m hoping just sharing it more will help (although I thought we had squared it fairly well.
But the real issue I’m having are the aluminum cover (parts 814-815) that fit in that plastic groove and I think forms the “gutter” system. We’ve tried everything to get them to snap into the thin plastic groove. Did yours go in very easily… I’ve just about decided to just use self drilling screws and install them like that… but thought I would see if I’m missing something here.
Thanks for listening and maybe you can provide some info or answers.
Wally
Hi! So exciting to hear about your new greenhouse. Its been a while now since we built it, but I remember many parts being very difficult to put together, requiring two pairs of hands, lubricant, or mallets to fit together. Unfortunately I don’t see parts 814-815 in the instructions for my build, so I’m not 100% sure which step you’re on.
Thank you for the reply Staci. I can’t post a graphic here, but these are the 3 aluminum pieces that form the gutter. They are supposed to snap into the slot above the vertical panels (the slot is a long thin plastic piece). Anyway, they are above the polycarbonate panels, and fit horizontally to form the gutters. I’m wondering if you attached any parts with the self-drilling screws? I think that’s what I am going to have to do. Thank you for the reply.